
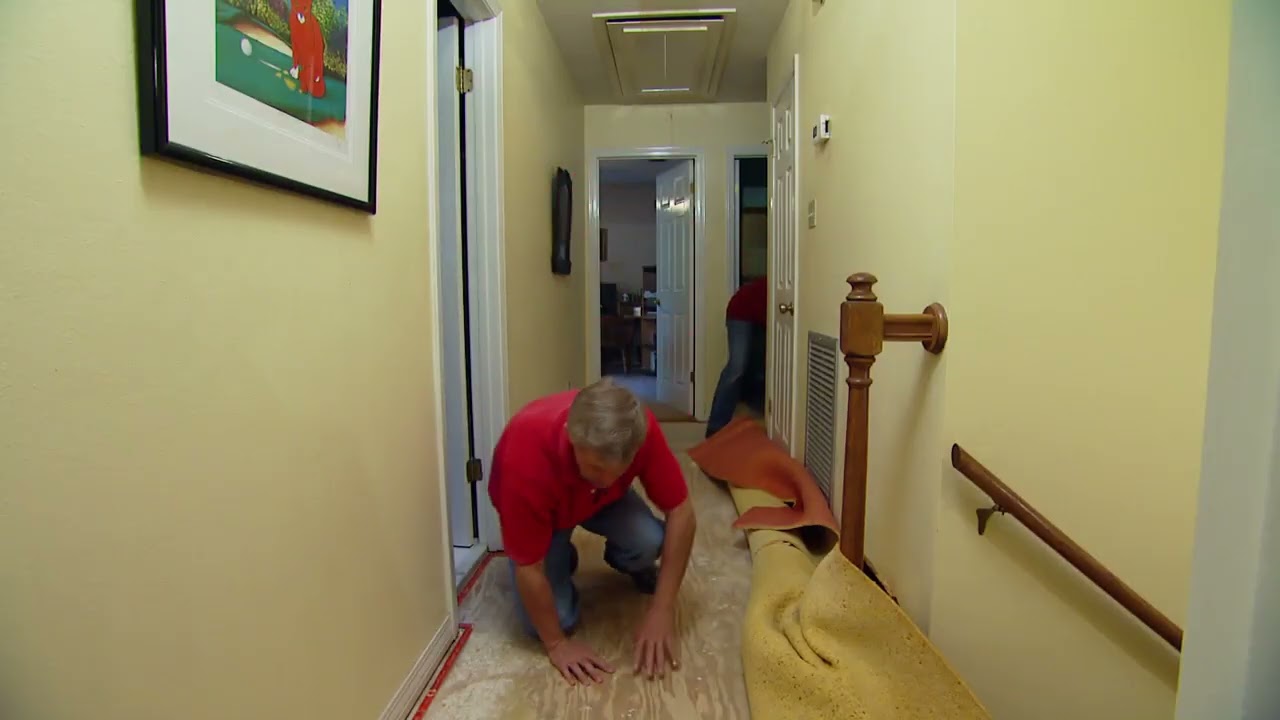
How to Fix a Squeaky Floor on a Stair Landing
About This Project
This project outlines the steps to diagnose and fix a squeaky floor on a stair landing. It involves identifying the source of the squeak, which is typically friction between floorboards, subfloor, or joists, and then applying a solution to eliminate the noise. Solutions can range from simple lubrication to more involved fastening.
Tools & Materials

Clamp

Pencil

Libman Small Space Scrub Brush 15
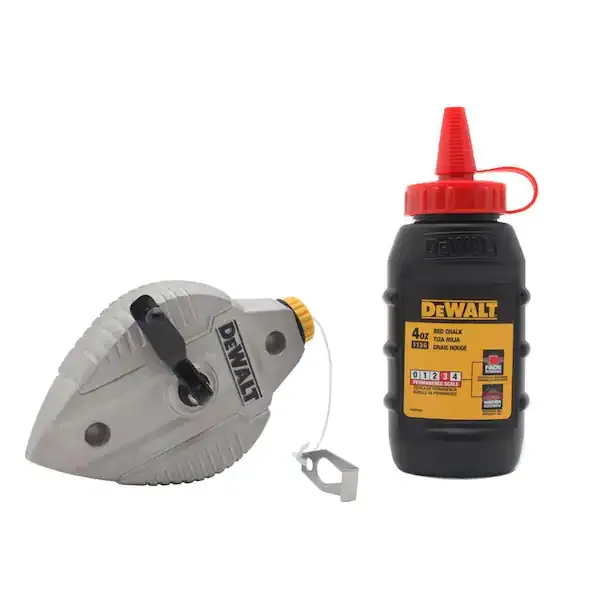
Chalk Line

DEWALT #6 9/64 in. High Speed Steel Countersink Drill Bit DW2567

DEWALT 3/4 in. Stud Finder DW0100
Clamp
Holds objects together with a firm grip.
Pencil
Marks and draws with ease.
Libman Small Space Scrub Brush 15
This scrub brush from Libman is excellent as an all-purpose scrub brush, but is particularly useful for small spaces and crevices. The extra-durable 3/4 in. long fibers and pointed head get into tight
Chalk Line
Marks straight, precise lines on surfaces.
DEWALT #6 9/64 in. High Speed Steel Countersink Drill Bit DW2567
For Professional Results, demand DEWALT Accessories. This Contractor Grade countersink and drill bit is ideal for woodworking projects to provide a professional finish. The bit plus countersink provide
DEWALT 3/4 in. Stud Finder DW0100
Eliminate the guesswork with this new Center Sensor Stud Finder that has a detection depth of 3/4 in. for wood and metal. While traditional stud sensors locate the edge of the stud, this 1 locates the
Steps

Locate Squeak Source
15 minutesThe first critical step is to accurately identify where the squeak is coming from. This usually involves friction between the floorboards themselves, the floorboards and the subfloor, or the subfloor and the joists. By systematically walking the area and applying pressure, you can often narrow down the source to a specific board or small area. Having a second person can be very helpful to confirm the location from different angles.
Watch: Locate the Squeak
Test Lubrication Method
10 minutesFor squeaks that seem to originate from the surface of the floorboards rubbing against each other, a simple lubrication might solve the problem. This method is non-invasive and can be effective if the friction is not too severe. Work the lubricant deep into the seams of the floorboards to ensure it reaches the source of the friction.
Watch: Apply Dry Lubricant to Eliminate Squeaks
Secure Loose Floorboards
30 minutesThis step addresses squeaks caused by movement between the floorboard and the subfloor, or between the subfloor and the joists. By fastening the layers together, you eliminate the potential for shifting and rubbing. Predrilling pilot holes can help prevent the wood from splitting and make driving the screws easier. Countersinking the screw heads slightly will allow them to be hidden later.
Watch: Secure Subfloor to Joists with Screws
Reinforce Subfloor or Joists
60 minutesThis is a more involved repair that requires access to the underside of the floor. Shimming fills voids that allow movement, while blocking (or bracing) adds structural rigidity to the joists themselves, preventing excessive flex. Ensure any shims are made of hardwood and are snug, and that blocking is securely fastened to the joists.
Watch: Fix from Below: Use ShimsTest and Finish
5 minutesThe final step is to confirm that the repair was successful. Test the area thoroughly by walking on it in different spots and with varying pressure. If the squeak is gone, clean up any dust or debris from the repair process. If the problem isn't fixed, it may require a more in-depth diagnosis or the assistance of a professional carpenter.
Watch: Final Check and Confirmation

