
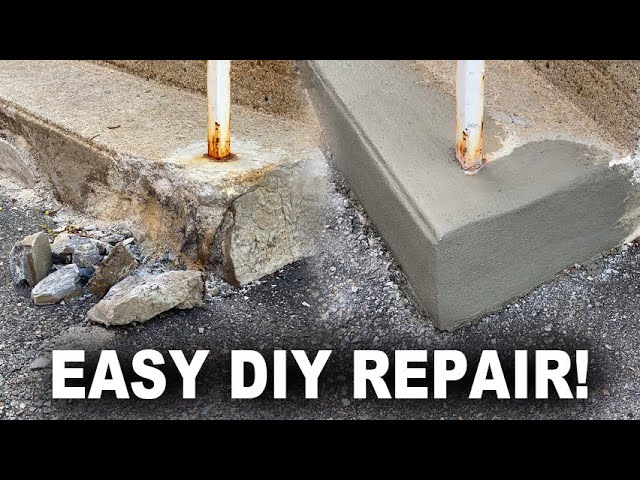
How to Fix a Crumbling Concrete Step Corner
About This Project
This project outlines the steps to repair a crumbling concrete step corner, involving cleaning, repairing, and resurfacing the damaged area to restore its structural integrity and appearance.
Tools & Materials
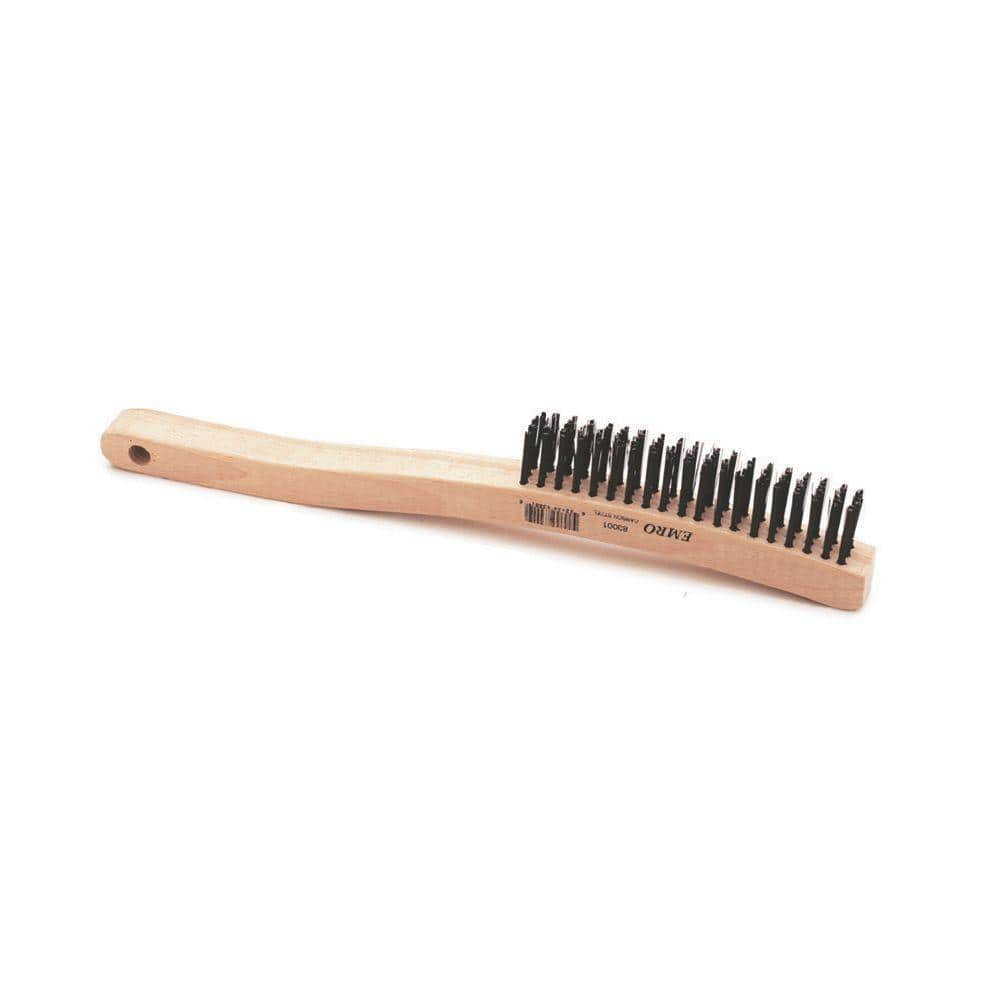
Lincoln Electric 14 in. Long Wooden Handled Carbon Steel Welding Wire Brush (.7 in. x 6.4 in. Bristle Area 3 x 19 Row) KH584
Water Source Water Test Pressure Gauge WSPGH100

RIDGID Carbon Steel Scratch Brush with Extended Wooden Handle, 3 x 19 Carbon Steel Bristle Rows RSB3X19CS

Mayhew Cold Chisel Set (3-Piece) 89062
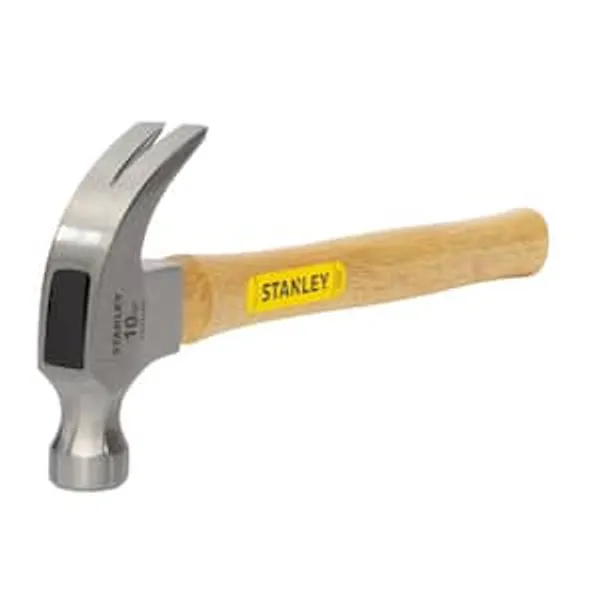
Hammer

Safety Glasses
Lincoln Electric 14 in. Long Wooden Handled Carbon Steel Welding Wire Brush (.7 in. x 6.4 in. Bristle Area 3 x 19 Row) KH584
Carbon steel long handle wire brush. An extremely heavy duty brush with hundreds of bristles imbedded in a wood handle in three rows. Tempered steel wire bristles are great for all purpose cleaning.
Water Source Water Test Pressure Gauge WSPGH100
This 100 psi Water Pressure Test Gauge attaches to a garden hose bib to verify water pressure or check for leaks in the system. Glass casing provides an easy to read display. It's easy to install.
RIDGID Carbon Steel Scratch Brush with Extended Wooden Handle, 3 x 19 Carbon Steel Bristle Rows RSB3X19CS
RIDGID 3 x 19-row scratch brush is made of carbon steel bristles. This product features an extended handle and angled head design to make cleaning and rust removal easier. Efficient cleaning on carbon
Mayhew Cold Chisel Set (3-Piece) 89062
The Mayhew Tools 3 Piece Cold Chisel Set includes 3/8 inch, 1/2 inch and 5/8 inch cold chisels. Cold chisels are used for cutting and shaping metals softer than the cutting edge. Available in many lengths
Hammer
Delivers forceful blows with precision.
Safety Glasses
Keeps eyes safe from potential hazards.
Steps
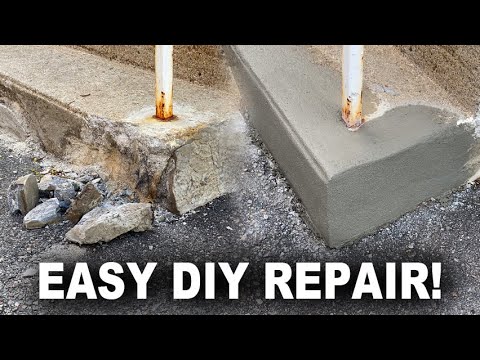
Clean the Damaged Area
30 minutesUsing a stiff wire brush, scrub the damaged concrete area vigorously. Rinse the area thoroughly with water to wash away all loose particles and dust. If there is any white, powdery substance (efflorescence) on the concrete, ensure it is completely removed as it can prevent proper adhesion of the repair material. Allow the area to dry slightly; it should be damp but not wet.
Watch: Clean Out Loose Concrete and Debris
Undercut Edges for Better Adhesion
45 minutesUsing a cold chisel and a hammer, carefully chip away at the edges of the damaged concrete. The goal is to create a slightly wider opening at the base than at the surface. This 'undercutting' technique ensures that the repair material has more surface area to bond to and creates a stronger, more durable repair that is less likely to pop out.
Watch: Prepare Damaged Area
Mix Concrete Repair Material
20 minutesRead the instructions on the concrete repair product packaging carefully. In a clean mixing container, add the specified amount of water or bonding agent, then gradually add the dry repair material. Mix thoroughly with a trowel or mixing paddle until a uniform, lump-free consistency is achieved. The mixture should be firm enough to hold its shape but soft enough to be spreadable and workable. Avoid over-mixing or mixing too much material at once, as it can begin to harden.
Watch: Mix the Fast-Setting Repair Mortar
Apply Concrete Repair Material
40 minutesUsing a trowel or putty knife, scoop a generous amount of the mixed repair material. Forcefully press the material into the undercut edges and the deepest parts of the damaged area. Work from the bottom up, filling the void completely. Overfill slightly so that material can be struck off flush with the existing concrete surface. Use the trowel to smooth and level the repair material, matching the existing profile of the step as closely as possible.
Watch: Fill and Shape with Patching CementShape and Finish the Repair
25 minutesAs the repair material begins to set, use a finishing trowel to strike off any excess material and to create a smooth, level surface that matches the surrounding concrete. Pay close attention to the edges and corners to create a seamless appearance. If necessary, use a damp sponge or a concrete float to further refine the texture and achieve a consistent finish. The goal is to make the repair as invisible as possible.
Watch: Finish and Blend the Surface
Cure the Repaired Area
2400 minutesProper curing is critical for the longevity of the repair. Keep the repaired area continuously moist for the duration specified by the repair material manufacturer. This can be achieved by misting the surface with water several times a day, covering it with damp burlap or plastic sheeting, or using a curing compound. Protect the repaired area from direct sunlight, wind, and freezing temperatures during the curing process.
Watch: Water Cure Repaired Concrete Steps

