

How to Find Studs and Set the Right Handrail Height
About This Project
This project outlines the steps to locate wall studs and determine the correct height for installing a handrail, ensuring safety and code compliance for stairways and accessible routes.
Tools & Materials
Measuring Tape

Pencil
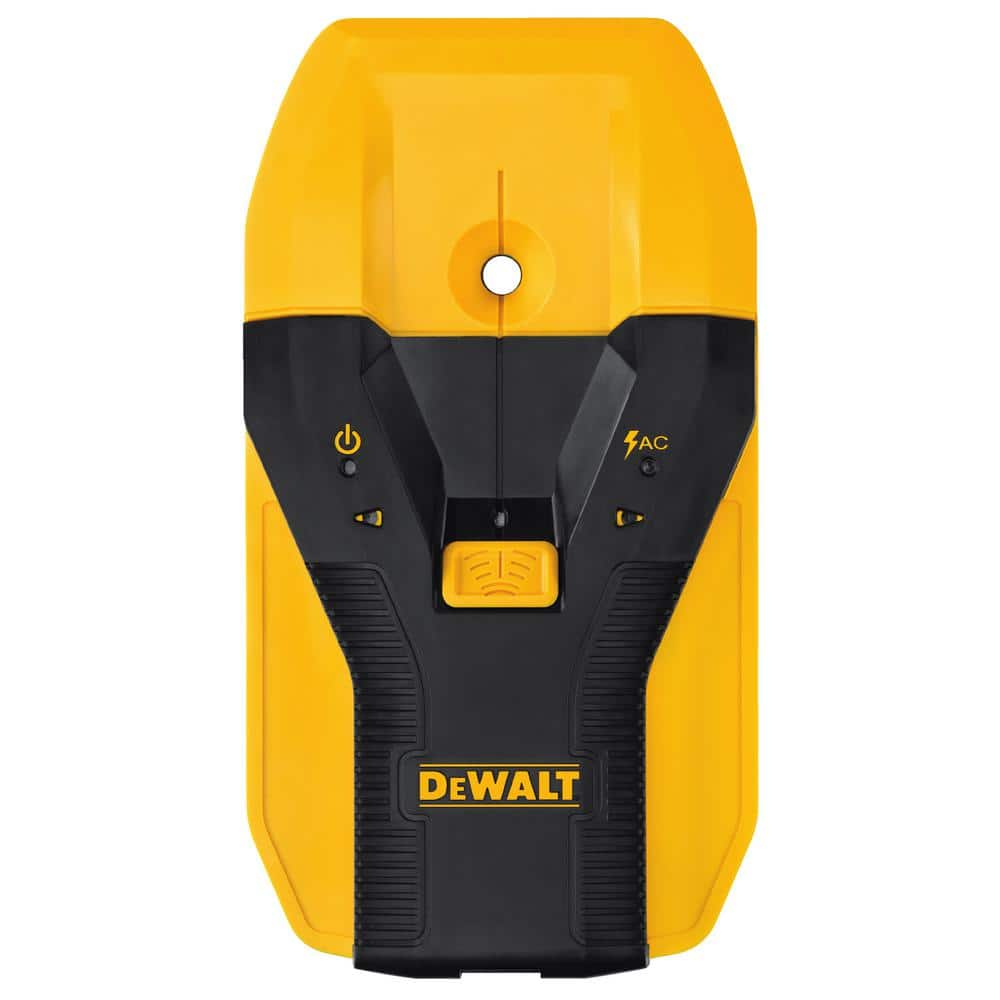
DEWALT 1-1/2 in. Stud Finder DW0150
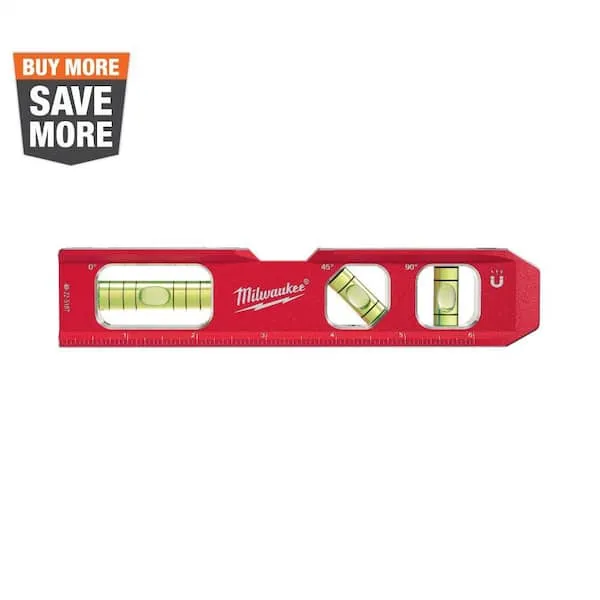
Level

Everbilt Matte Black Handrail Bracket 20880
Drill Bits
Measuring Tape
For accurate measurements of plywood and components, ensuring proper assembly.
Pencil
Marks and draws with ease.
DEWALT 1-1/2 in. Stud Finder DW0150
This Center Sensor Stud Finder has a detection depth of 1-1/2 in. for wood and metal. Traditional stud sensors locate the edge of the stud, but our new product locates the center for a more efficient read, even when held at an angle. Plus, it is constantly calibrating to save time during use. An audible alert and directional LED arrows clearly notify you once the stud is located and you can easily mark the center of the stud with the center marking channel.
Level
Ensures surfaces are just right.
Everbilt Matte Black Handrail Bracket 20880
The Everbilt Handrail Bracket is ideal for supporting handrails at any angle. Use in hallways or stairwells. Great for indoor or outdoor use. Easy to install.
Drill Bits
Various sizes for different drilling tasks, including making holes for screws and latches.
Steps

Determine Handrail Height
15 minutesUsing a tape measure, locate the desired height for the handrail. A common standard is to place the top of the handrail 34 inches above the slope or nosing of the stair. Measure this height at several points along the staircase to ensure consistency. Mark these points lightly with a pencil.
Watch: Mark Handrail Height
Locate Wall Studs
20 minutesAt each marked height, use an electronic stud finder to locate the vertical wall studs. Once a stud is detected, slide the finder horizontally to find its edges and then mark the centerlines of the studs. Repeat this process for all desired mounting locations.
Watch: Utilize an Electronic Stud Finder and Mount Item
Mark Support Bracket Locations
15 minutesHold a handrail bracket against the wall at the desired height, ensuring it is centered over a marked stud centerline. Use a pencil to mark the screw hole locations through the bracket onto the wall. For longer runs, use a level to ensure brackets are vertically aligned.
Watch: Install Handrail Brackets (Wood Studs)
Drill Pilot Holes
10 minutesSelect a drill bit that is slightly smaller than the diameter of the screws you will be using for the brackets. At each marked screw location, drill a pilot hole into the center of the wall stud. Drill to a depth sufficient for the screw to engage the stud securely.
Watch: Locate Studs and Drill Pilot Holes
Attach Support Brackets
20 minutesPlace each handrail bracket over the pre-drilled pilot holes. Insert the appropriate screws (typically lag screws or wood screws designed for structural support) through the bracket and into the pilot holes. Tighten the screws firmly with a drill or wrench until the bracket is snug against the wall and securely engaged with the stud. Do not overtighten, which can strip the wood or damage the drywall.
Watch: Install Handrail Brackets

