

How to Build a Dog Nook Under the Stairs
About This Project
Construct a custom-built dog nook beneath an existing staircase, including framing, sheathing, and finishing to create a comfortable and secure space for a pet.
Tools & Materials
Measuring Tape

Pencil
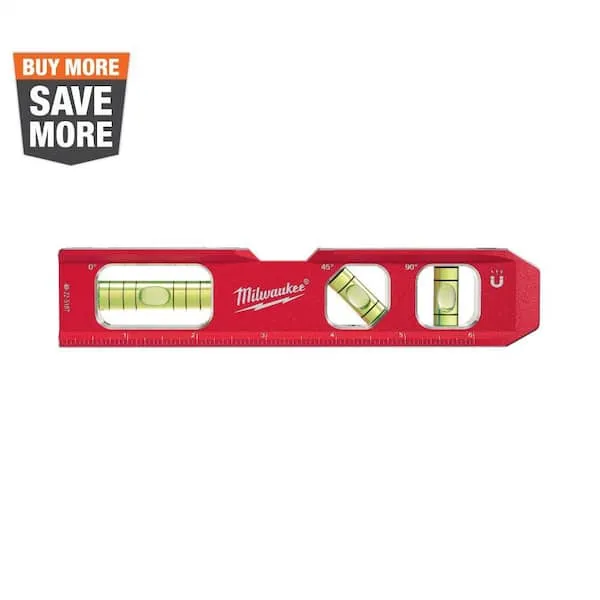
Level

DEWALT 1-1/2 in. Stud Finder DW0150
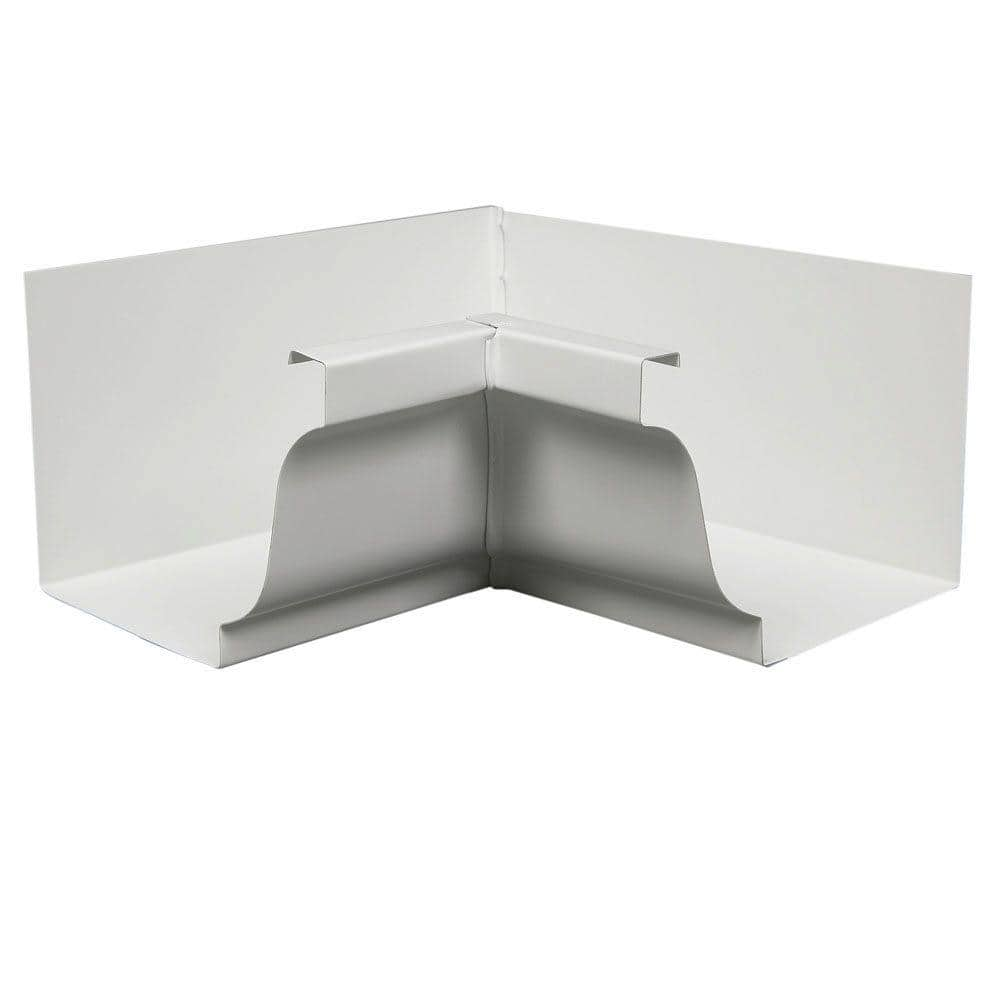
Amerimax Home Products 6 in. White Aluminum K-Style Inside Gutter Miter 47001

Crescent 22 oz. Wood Milled-Face Framing Hammer CHFRAM22
Measuring Tape
For accurate measurements of plywood and components, ensuring proper assembly.
Pencil
Marks and draws with ease.
Level
Ensures surfaces are just right.
DEWALT 1-1/2 in. Stud Finder DW0150
This Center Sensor Stud Finder has a detection depth of 1-1/2 in. for wood and metal. Traditional stud sensors locate the edge of the stud, but our new product locates the center for a more efficient read, even when held at an angle. Plus, it is constantly calibrating to save time during use. An audible alert and directional LED arrows clearly notify you once the stud is located and you can easily mark the center of the stud with the center marking channel.
Amerimax Home Products 6 in. White Aluminum K-Style Inside Gutter Miter 47001
The Amerimax Home Products 6 in. Aluminum Inside Gutter Mitre features rust-free aluminum construction for durability and a baked-on white enamel finish for low maintenance. To install, snip the back of the gutter, overlap the pieces, and rivet them together. Sealant is required for installation (not included). This product attaches with screws or pop rivets (not included)
Crescent 22 oz. Wood Milled-Face Framing Hammer CHFRAM22
Crescent has brought market leading innovation to a number of hand tool categories and now brings leading innovation to our line of professional hammers. A forged steel head with VibeGuard technology makes these hammers best in class at vibration reduction. These hammers are also precisely balanced for better swing force and better accuracy each swing.
Steps

Measure and Mark Opening Dimensions
30 minutesCarefully measure the width, height, and depth of the space available for the dog nook under the stairs. Use a tape measure and pencil to mark the exact boundaries of the opening on the existing wall or structural elements. Ensure the measurements account for the thickness of any framing you plan to add. Consider the size of your dog and their comfort when determining the final dimensions. It's advisable to draw a clear, measured outline of the intended opening.
Watch: Plan and Prepare the Under-Stair Space
Frame the Dog Nook Opening
90 minutesCut pieces of lumber (e.g., 2x4s) to create a rectangular frame that matches the dimensions marked in the previous step. Assemble the frame on the ground or at your workbench. Once assembled, carefully position the frame within the marked opening. Use a level to ensure it is plumb and square. Secure the frame to the existing wall studs or structure using appropriate screws or nails, ensuring a strong and stable connection. This frame will support the surrounding materials and provide a defined entry.
Watch: Install and Secure the Frame
Sheath the Dog Nook Walls and Ceiling
120 minutesMeasure and cut pieces of plywood (e.g., 1/2 inch thickness) to fit the interior walls and ceiling of the framed dog nook. Ensure cuts are precise to minimize gaps. Attach the sheathing to the framing members using appropriate screws or nails, spacing them according to standard construction practices (typically every 6-8 inches along edges and 10-12 inches in the field). This step creates a solid surface for finishing.
Watch: Sheath Walls and Roof with Plywood
Install Flooring
60 minutesPrepare the subfloor (the sheathing installed in the previous step) if necessary (e.g., a light sanding for smoothness). Select a flooring material suitable for pets, such as vinyl plank, laminate, or a durable rubber mat. Cut the flooring material to fit the dimensions of the nook. Install the flooring according to the manufacturer's instructions, ensuring it is laid flat and secured properly. Pay attention to seams to prevent moisture from seeping underneath.
Watch: Install Flooring
Finish Interior Surfaces
180 minutesClean the sheathed surfaces to remove any dust or debris. If painting, apply a coat of primer to ensure good adhesion and a uniform finish. Once the primer is dry, apply one or more coats of pet-safe, low-VOC paint in your desired color. Alternatively, you can apply a clear sealant or wood finish if you prefer to showcase the wood. Ensure all finishes are fully dry and cured before allowing your dog access.
Watch: Caulk Seams and Apply Final Paint Colors
Add Trim and Baseboards
90 minutesMeasure and cut trim pieces (e.g., 1x3 or 1x4 lumber, or decorative molding) to fit around the perimeter of the dog nook opening and along the base of the interior walls. Use a miter saw for precise angled cuts at corners. Attach the trim and baseboards to the framing and sheathing using finish nails or adhesive. Fill any nail holes with wood filler and sand smooth. Caulk gaps for a seamless appearance.
Watch: Apply Baseboards, Trim, and Molding

