

How to Add Shelves Inside an Under-Stair Closet
About This Project
This project involves designing and installing shelves within an under-stair closet to maximize storage space. It will include measuring the space, determining shelf layout, cutting materials, and securing the shelves.
Tools & Materials

25 ft. Tape Measure
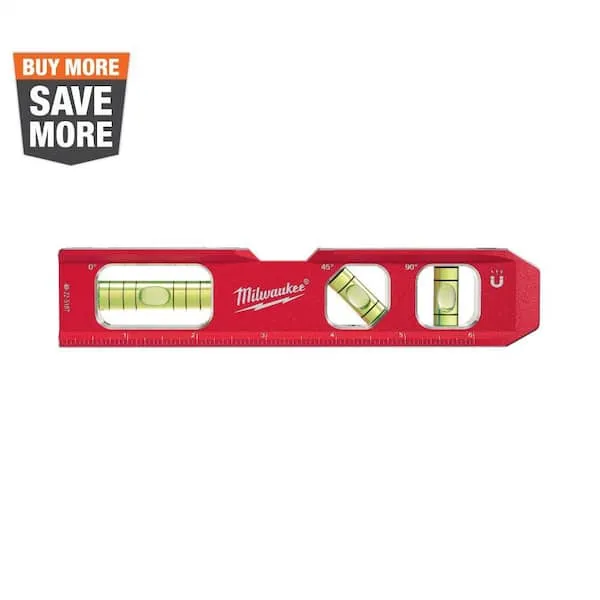
Level

Pencil

Daltile Octagon and Dot Matte White with Gray Dot 12 in. x 12 in. Glazed Ceramic Mosaic Tile (10 sq. ft./case) PR922OCT44HD1P2
Plywood
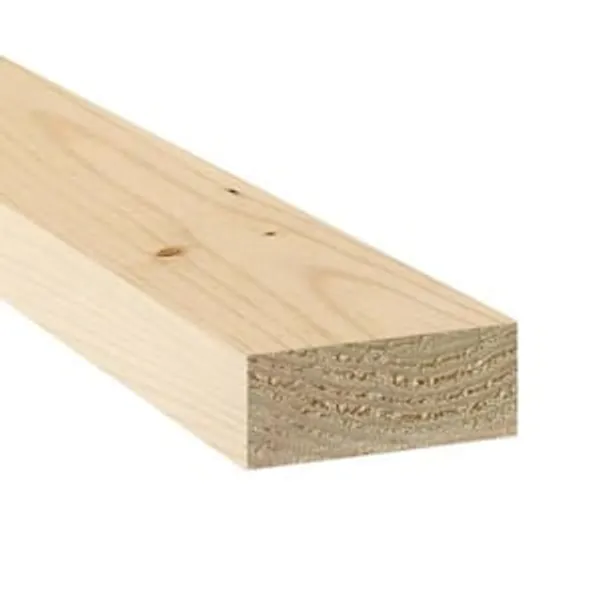
2”x4” Lumber
25 ft. Tape Measure
Measure with precision and ease.
Level
Ensures surfaces are just right.
Pencil
Marks and draws with ease.
Daltile Octagon and Dot Matte White with Gray Dot 12 in. x 12 in. Glazed Ceramic Mosaic Tile (10 sq. ft./case) PR922OCT44HD1P2
Plywood
The primary material for constructing the cart, flip-top table, and foldout table.
2”x4” Lumber
Essential for construction and DIY tasks.
Steps

Measure Under-Stair Space
30 minutesCarefully measure the interior dimensions of the under-stair closet at various points to account for any irregularities in the walls or floor. Record the maximum height, width, and depth. Pay attention to any obstructions like pipes or electrical boxes that may affect shelf placement.
Watch: Measure and Plan Layout
Design Shelf Layout
60 minutesSketch a design for the shelving system. Consider the types of items you plan to store to determine appropriate shelf heights and depths. Plan for vertical dividers if needed for tall items. Decide on the number of shelves and their spacing. Account for the slope of the stairs when planning shelf placement, especially for deeper shelves.
Watch: Plan and Design the Shelf System
Select and Purchase Materials
45 minutesSelect wood such as plywood, MDF, or dimensional lumber based on your budget and desired durability. Consider pre-made shelving kits or custom cuts from a lumber yard. Purchase screws, brackets, shelf pins, or other hardware required for assembly and installation.
Watch: Purchase and Transport Components

Assemble Shelf Units (if applicable)
90 minutesIf your design involves building frames or assembling multiple pieces for each shelf, do so now. Screw together side panels and shelves, or assemble any support structures. Ensure all connections are secure and square.
Watch: Assemble Shelf Frames
Install Wall Supports or Brackets
75 minutesLocate wall studs using a stud finder. Mark the desired height for each shelf support. Attach ledger boards or brackets to the studs using appropriate screws. Ensure all supports are level with each other for a consistent shelf height.
Watch: Install Shelf Cleats
Install Shelves
60 minutesCarefully position each shelf onto its corresponding supports. Ensure the shelf is flush with the front of the supports and sits level. Secure the shelves to the supports using screws, typically from the underside into the supports, or through pre-drilled holes if using brackets.
Watch: Attach and Secure Shelf Boards


